To install the NPAV Endpoint Security client web version please follow the steps below
Step 1: Login to the EPS Web console using your email address and password.
https://epsweb.adminconsole.net/
Step 2: Go to the “License Management” tab and click on Download Agent dropdown menu then click on the “Only Agent” option if you want to download the Agent or If you want full setup then click on “Agent with Setup”
Step 3: Downloading the Net Protector Setup file is optional if you have already downloaded the Client Agent only. If the Setup file is not downloaded, the Client Agent will automatically retrieve it from our server during installation, and the installation time will depend on your internet connection speed. If the Setup file is placed in the same directory as the Client Agent, it will be detected locally and will not be downloaded again. If you have downloaded the “Agent with Setup” package, you can safely skip this step.
Click here to download the Net Protector Setup File (https://adminconsole.net/downloads/InstallNP.exe)
Step 4: If you have downloaded Agent Only and downloaded the Installnp.exe from above link then Put the Client Installer file(CIWeb_C-dashkey.exe) and Net Protector Setup File (InstallNP.exe) in a single folder. Right-click on Client Installer and Click on RUN AS ADMINISTRATOR.
If you have downloaded Agent with Setup then you can directly right click on CIWEB_C-dashkey.exe and select RUN AS ADMINISTRATOR.
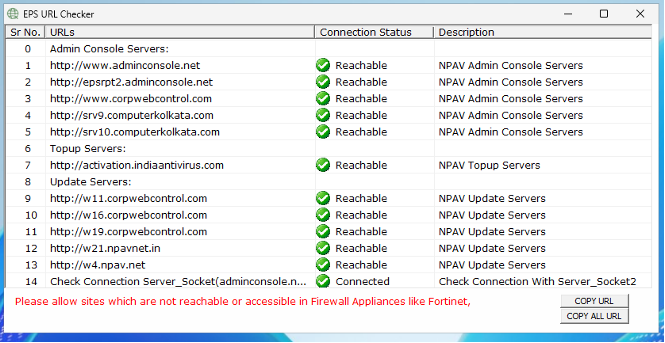
Step 5: Wait for the URL checking to finish, if any URLs are not reachable then allow them in your Firewall.
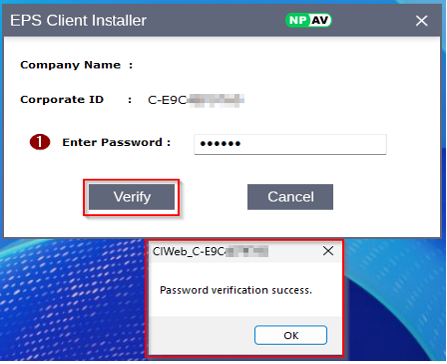
Step 6: Enter Client Installation Password and click on “Verify” Button
Step 7: Fill the all details and click on “Yes” Button
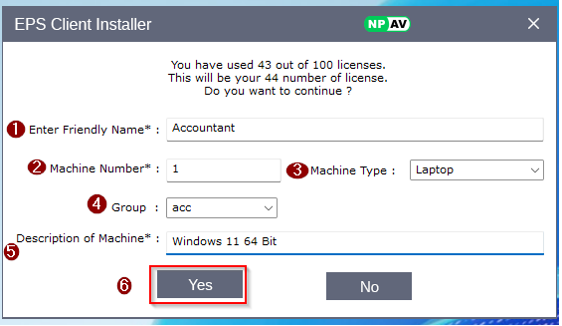
After click on the “Yes” button then rest process will be done automatically.
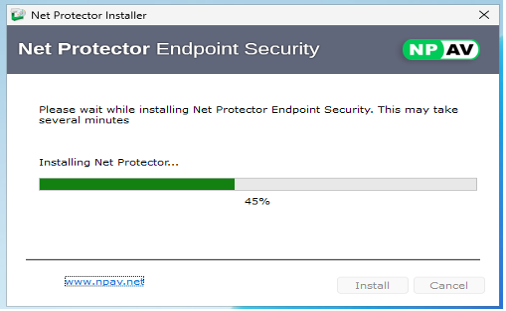
Step 8: Agent Installation will start
Step 9: After Installation Successful then Net Protector EndPoint Security Dashboard will show, update the system and restart once.

