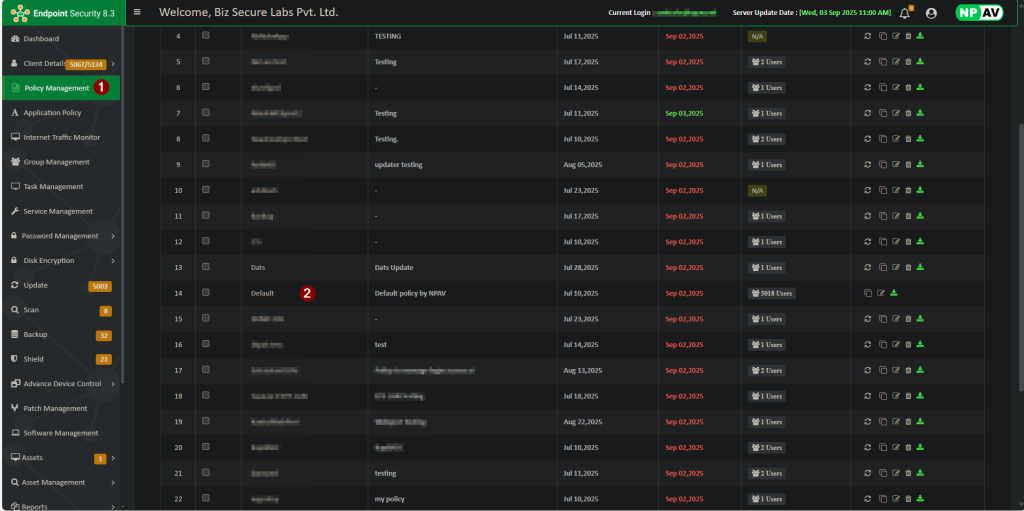
Need to do the following easy steps to Scan PCs in your network, which are shown in below image.
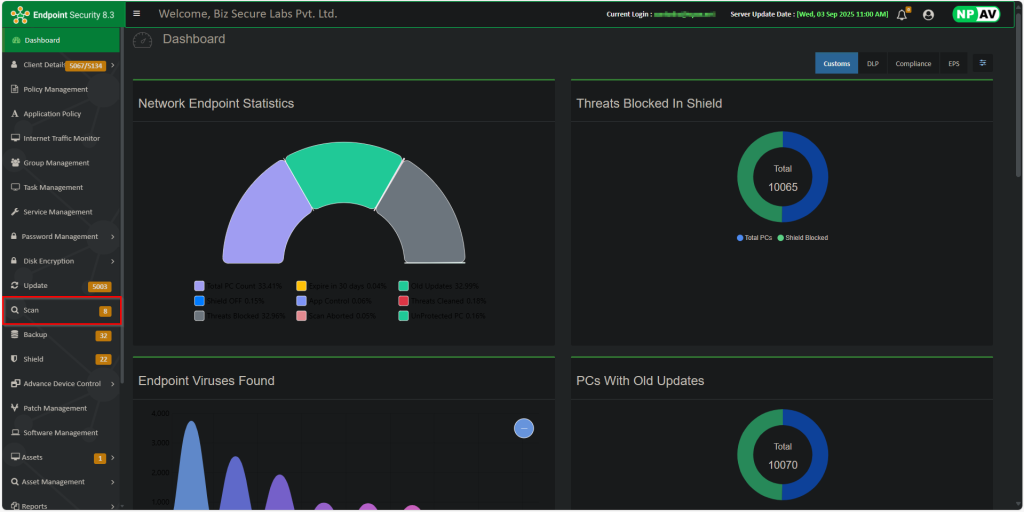
Step 1 :
Select the Scan tab from the Admin Console Dashboard.
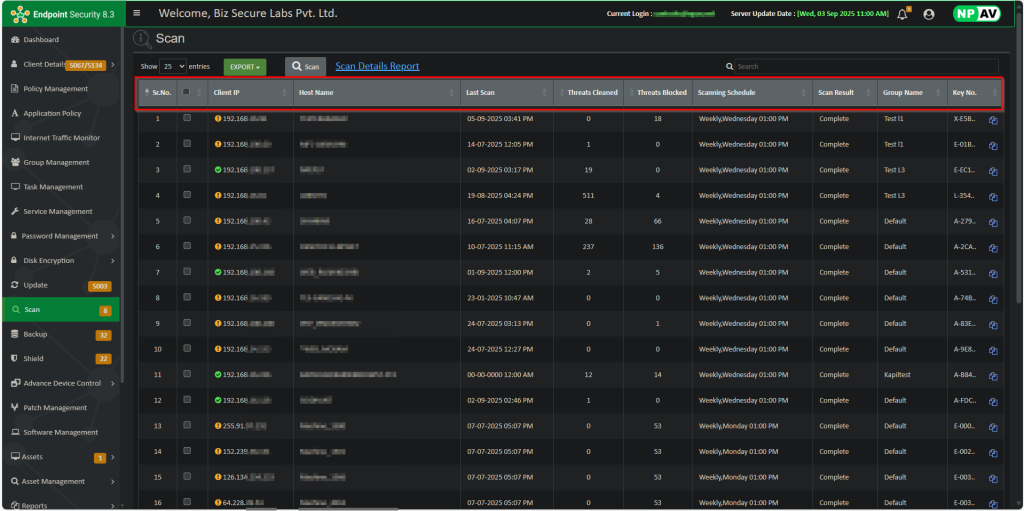
Step 2 :
Administrator can see the detailed report of each PC in network like Client IP, Host Name, Last Scan, Threats clean, Threats Blocked, Scan PC Result, Group Name as shown in below image.
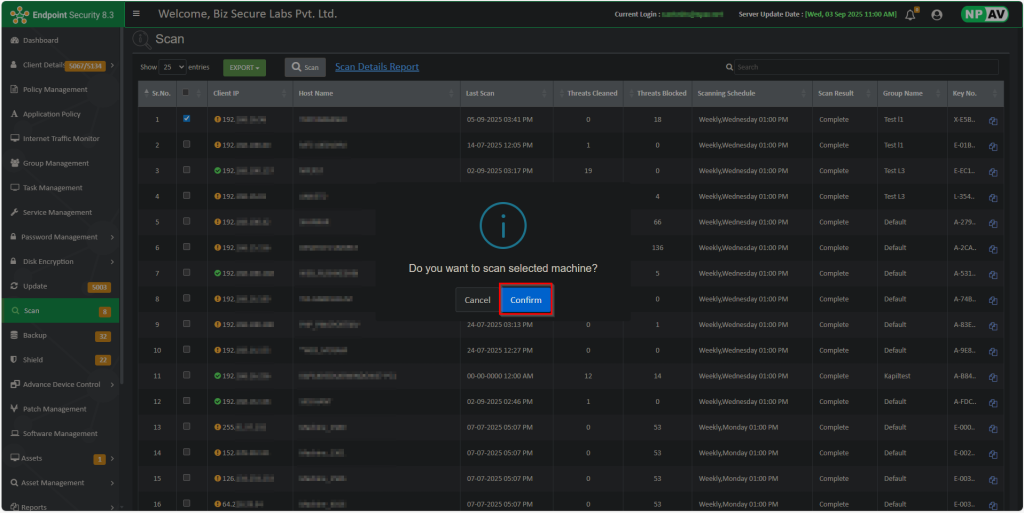
Step 3 :
Select the PC on which you have to scan, click on Scan and Click on Confirm as shown below.

Step 4 :
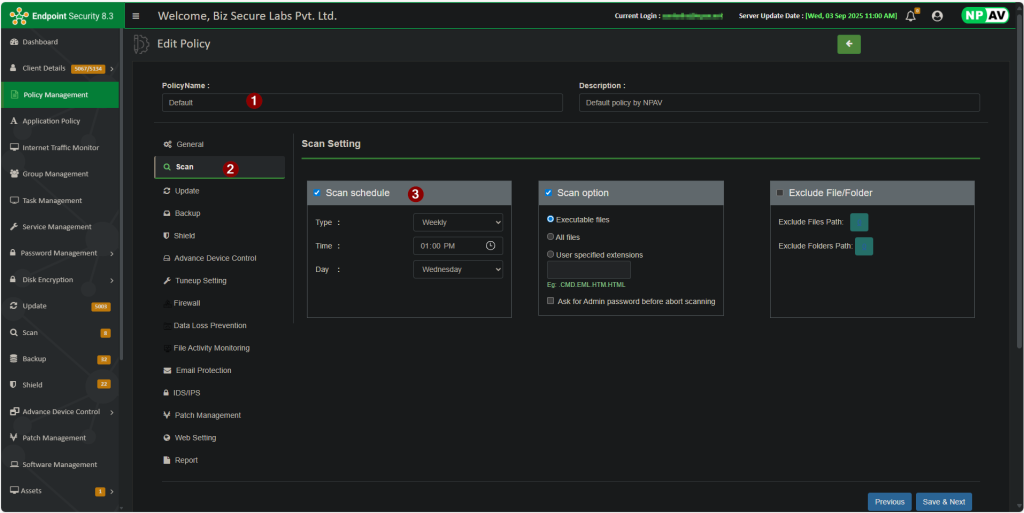
If you want to schedule the scanning on any client machine,
1.Goto policy Management option Select Policy
2.Navigate to Scan Option.
3.Click on Scan Schedule option and make “Status” as “ON”, tick Silent scan, Type, and Fix the Time and Day.
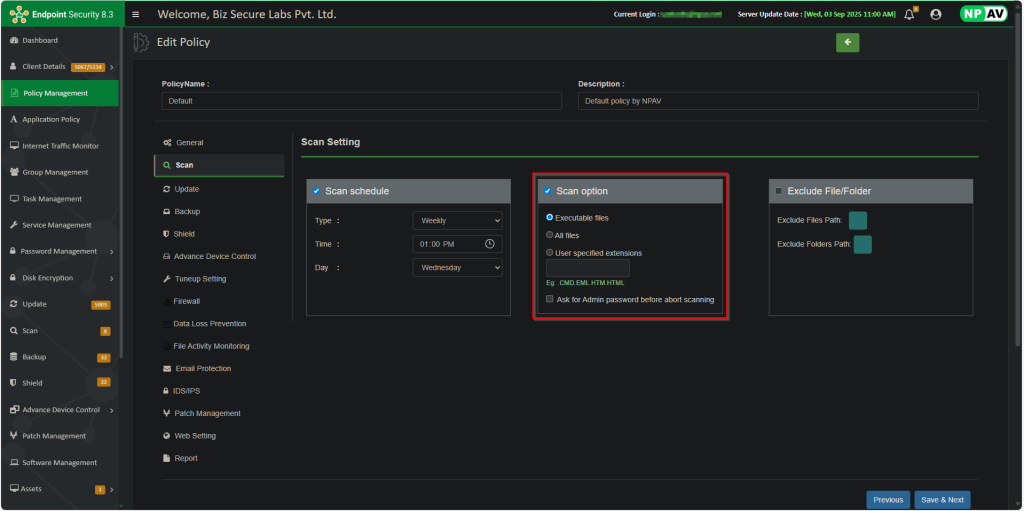
Step 5 :
Admin can also scan particular file types:
- executable files for .EXE files
- All Files (no matter what is the extension of that file)
- User specified Extensions.
Click on Scan options and select which file you want to scan that is Executable Files or All Files or User Specified Extension.
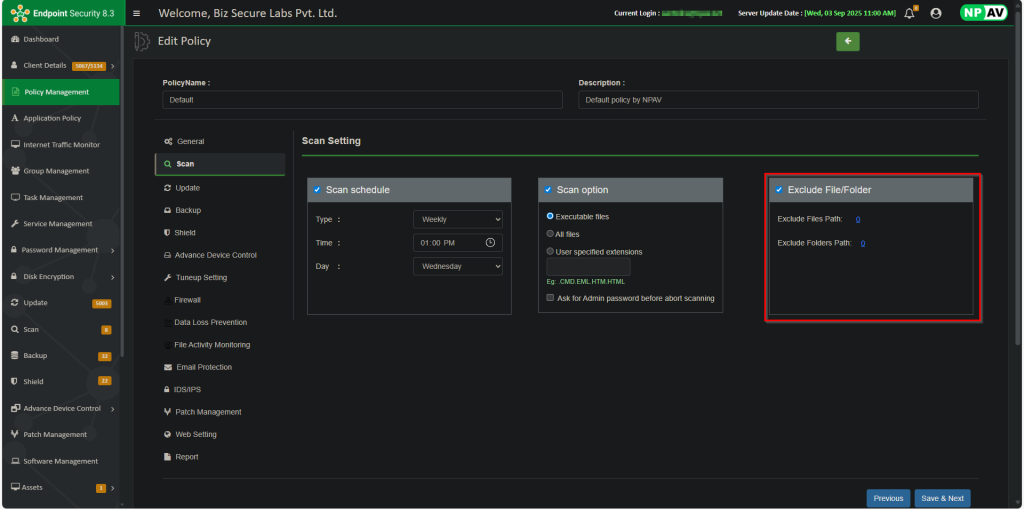
Step 6 :
If you want to skip any file or folder from the online protection, use the following option.
Click on Exclude File/Folderoption and select which files and folders that administrator want to exclude from Online Shield.
Step 7 :
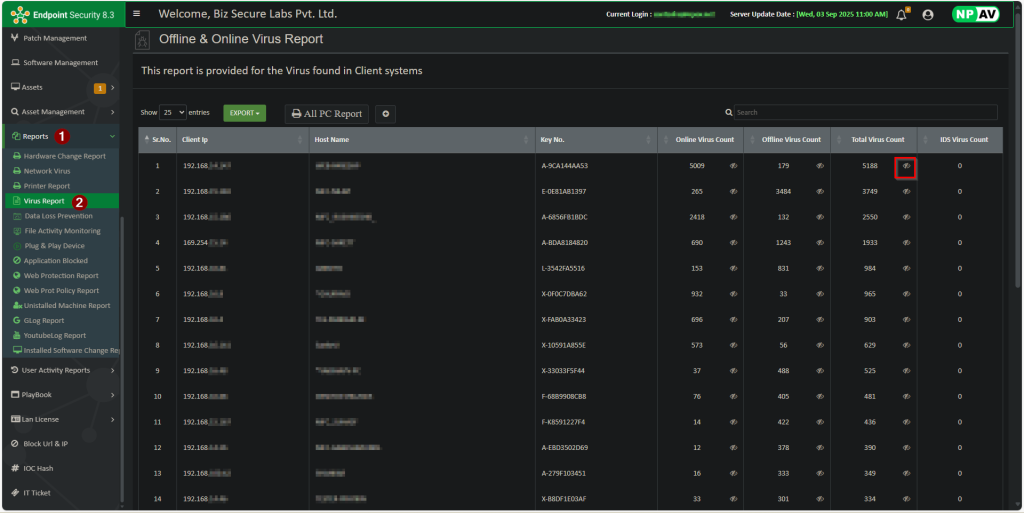
Reports Tab :
If administrator want to view report of PC’s in network Navigate to Reports tab and then Virus Reports as shown below.