Internet Browsing Control is used to block specific categories of websites by configuring access settings.
This tool allows administrators to restrict or permit web access based on site categories, individual URLs, or specific user groups.
How to Enable Internet Browsing Control ?
- Open the NPAV Dashboard.
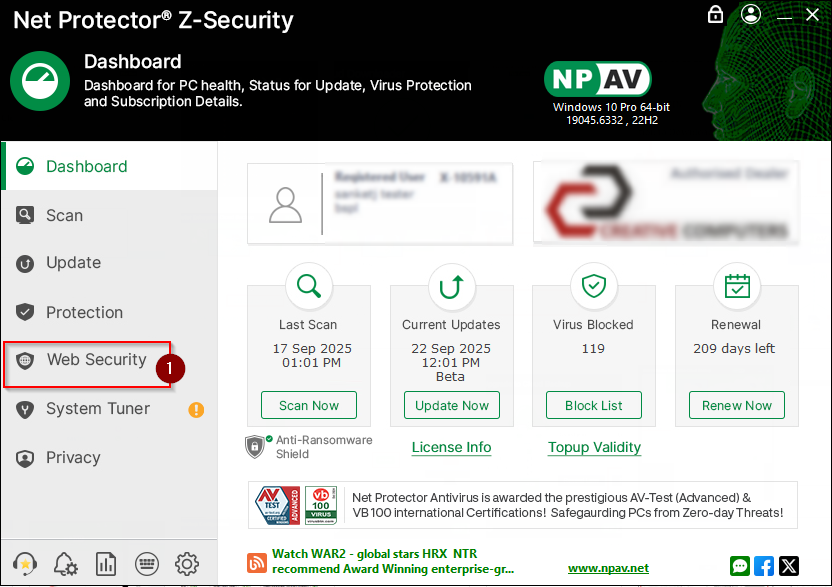
- Go to the “Web Security” tab.
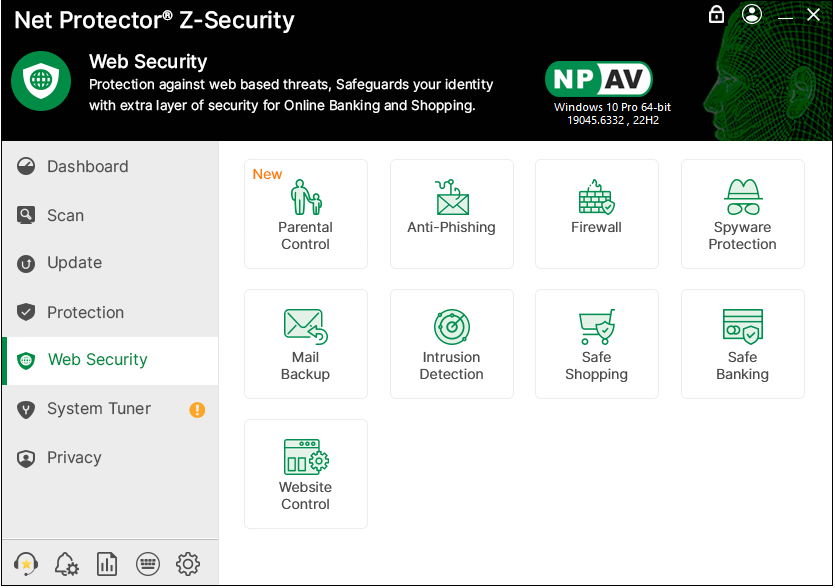
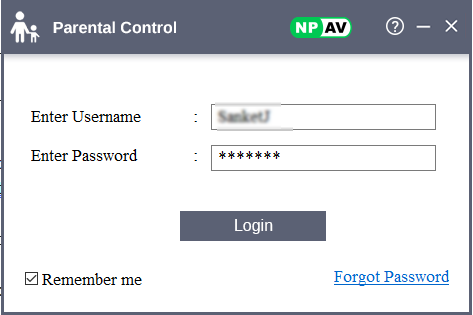
- Click on “Parental Control.
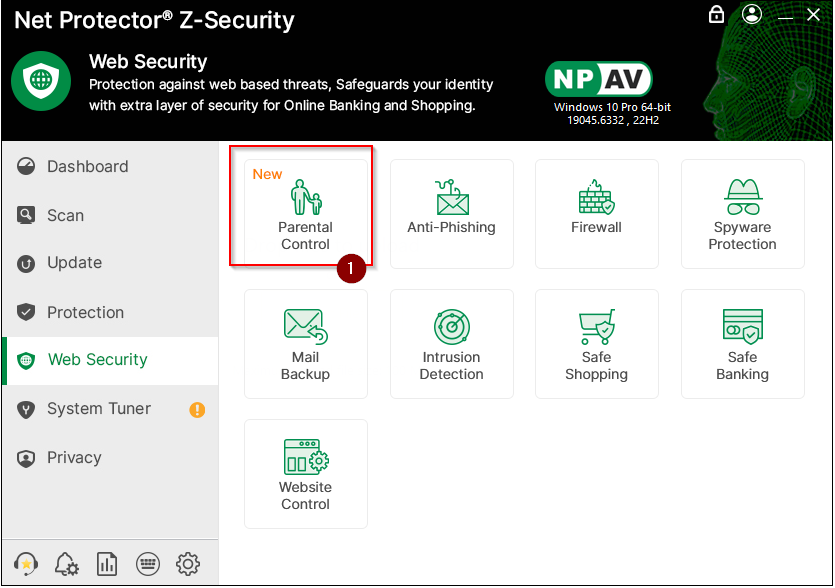
- Log in with your valid credentials (username and password).
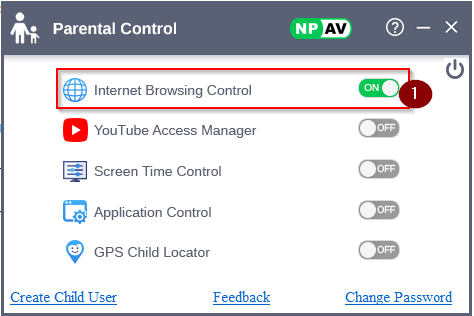
- Turn on the “Internet Browsing” toggle to enable browsing control.
There are four types of Internet Browsing Restrictions
- Allow All
Grants the user access to all website categories without any restrictions.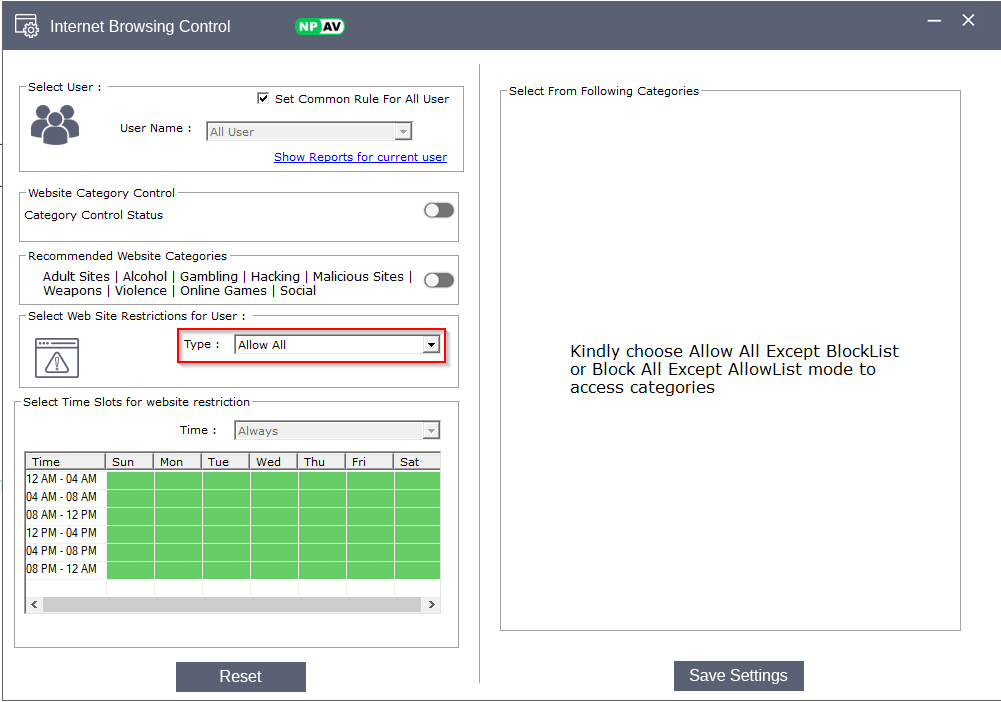
- Block All
Blocks access to all website categories for the user.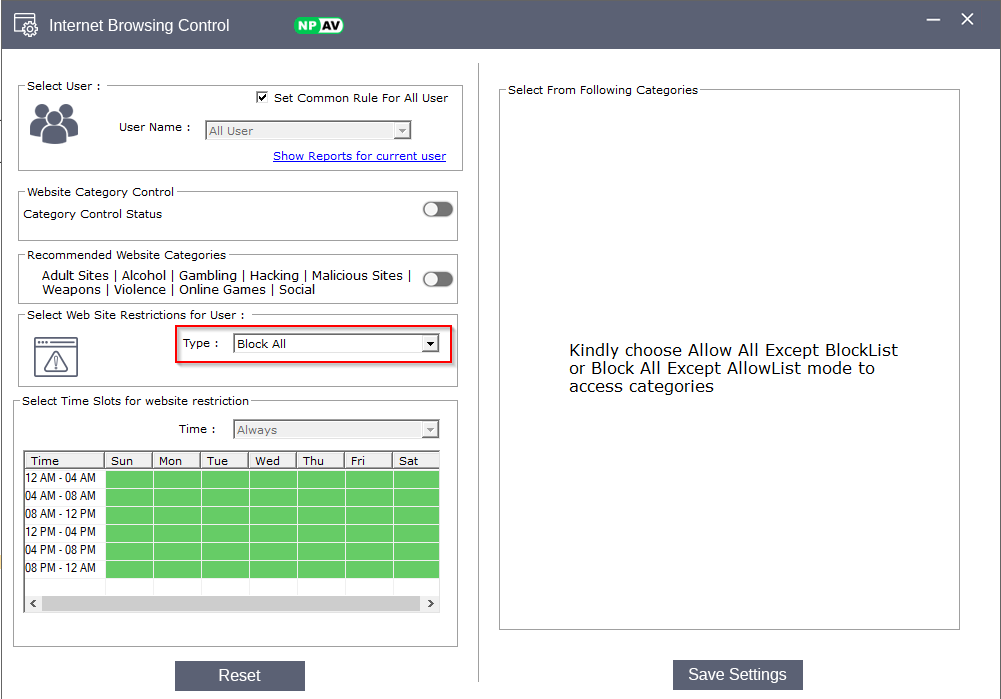
- Allow All Except Block List
Allows access to all website categories except those specified in the block list. You can also add specific keywords to block certain sites or content.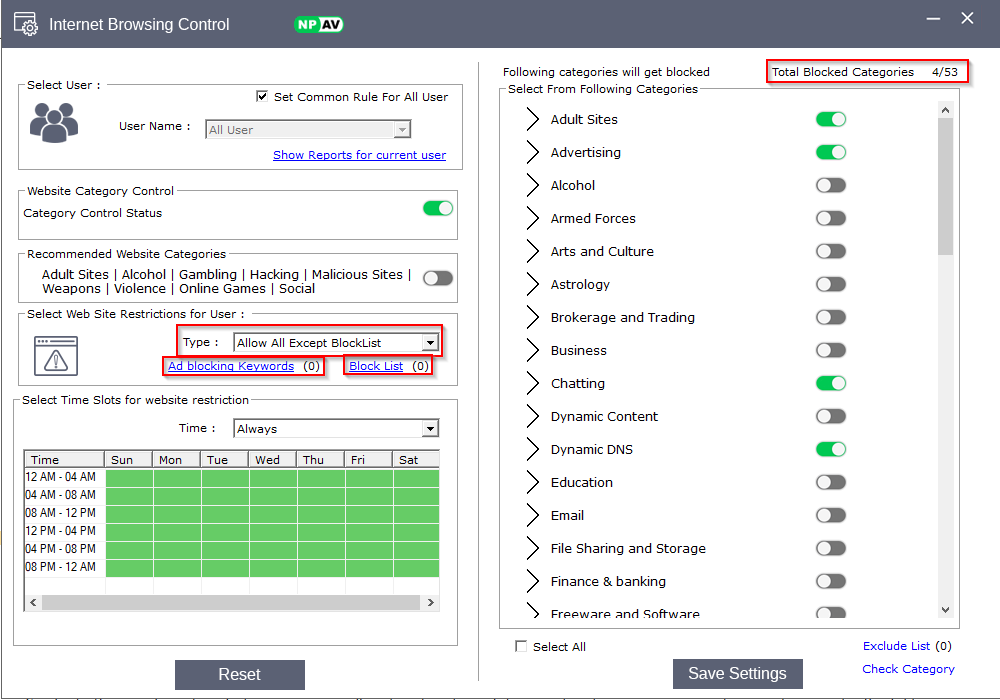
- Block All Except Allow List
Blocks access to all website categories except those specified in the allow list. You can also enable domain checking to permit only approved domains.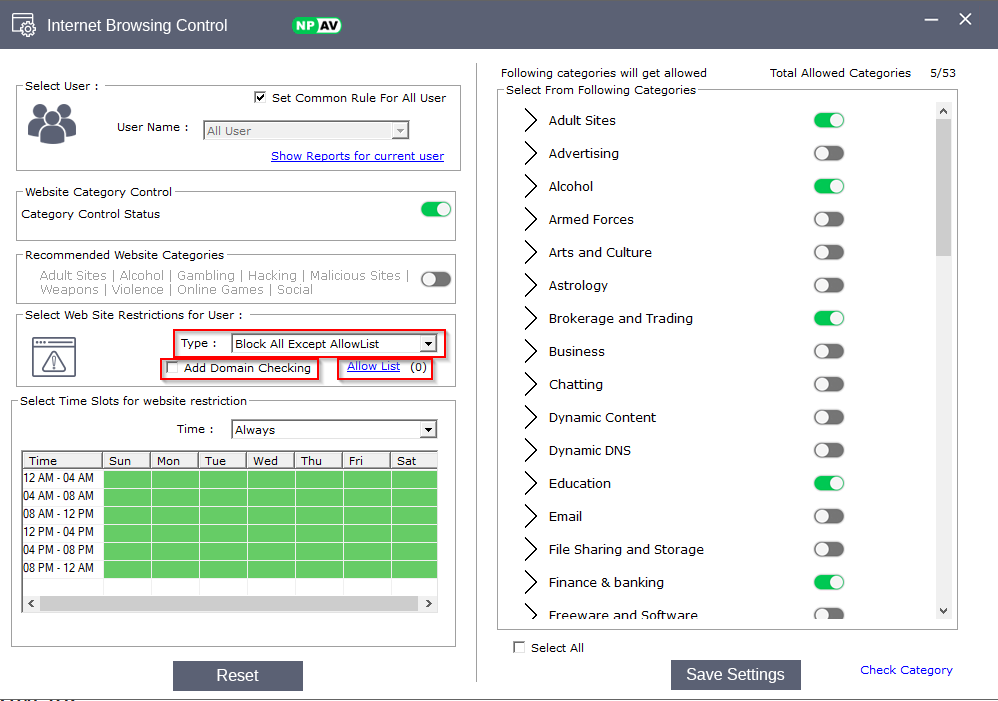
There are three types of time slots Restrictions:
- Always
Website access is allowed at all times, with no time-based restrictions.
- Specific
Allows you to set time restrictions for particular days. You can configure access on an hourly basis for each day of the week.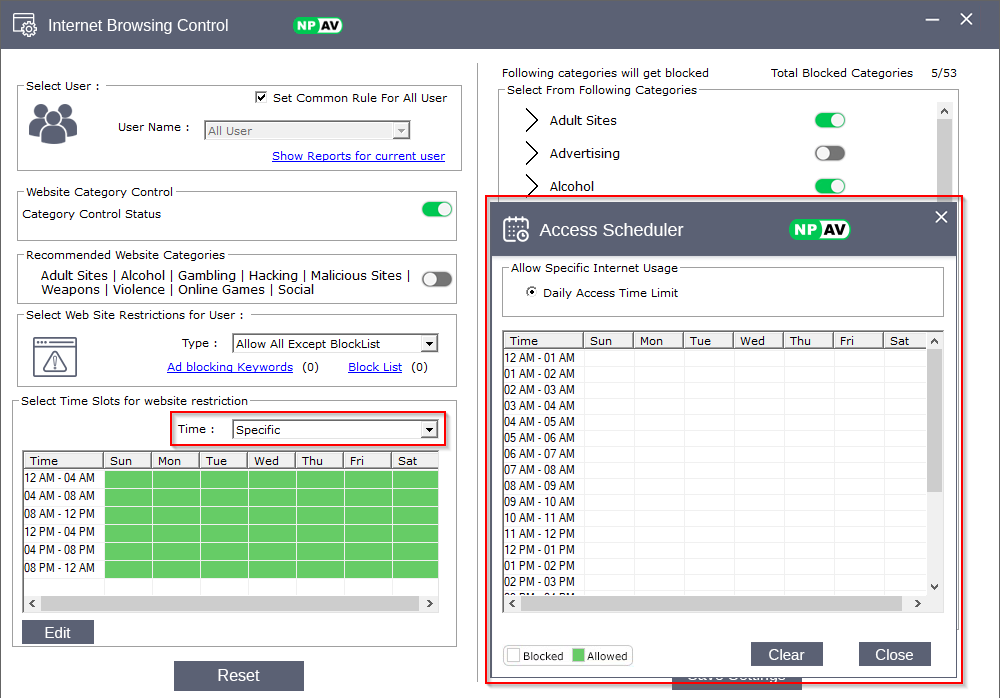
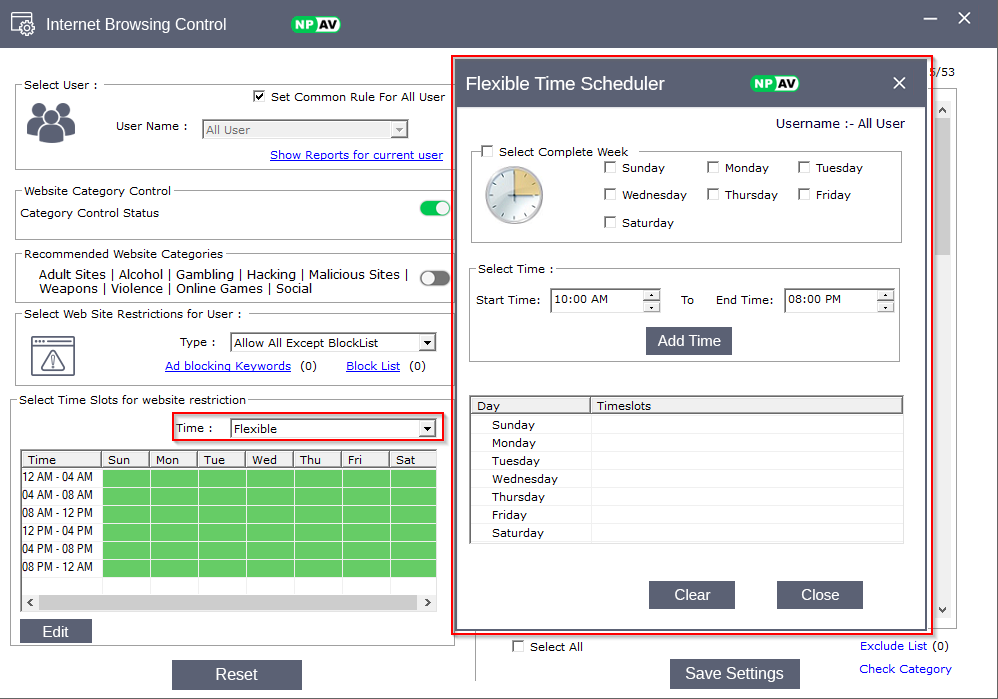
- Flexible
Similar to the specific option, but you can manually set custom time slots according to your requirements, providing greater flexibility in scheduling internet access.