Net Protector Antivirus Installation & Uninstallation Guide
- Uninstall other Existing Antivirus Before Installing Net Protector Antivirus
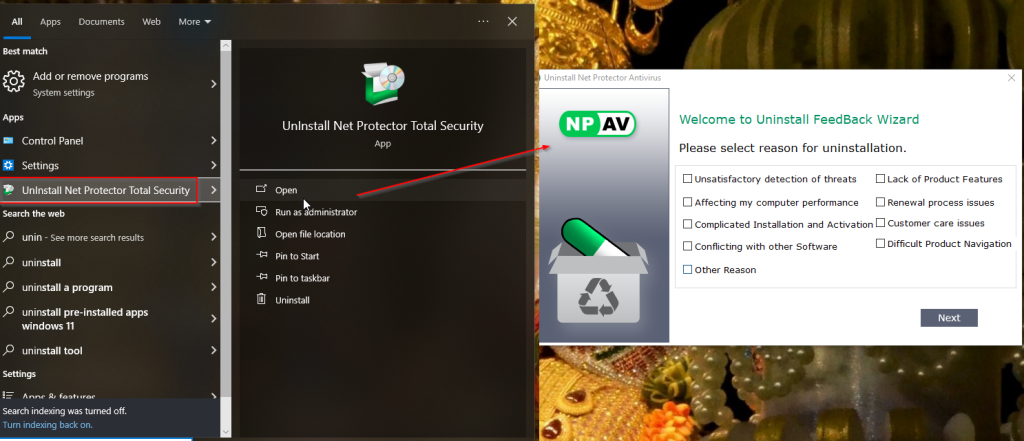
a. Using the Start Menu
- Click the Start button.
- Find and select the antivirus program.
- Choose the Uninstall option.
- Follow on-screen instructions.
Note: Steps may vary depending on your antivirus software and Windows version.
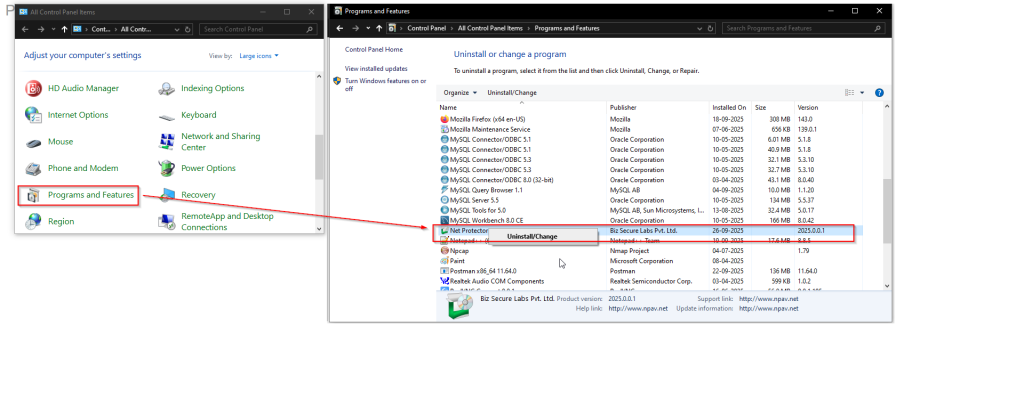
b. Using Control Panel
- Open Control Panel (search from Start).
- Go to Programs > Programs and Features.
- Locate the antivirus.
- Click Uninstall/Remove.
- Follow the prompts to finish.
- Uninstall Existing Antivirus During Net Protector Antivirus Installation
If another antivirus is detected:
- Click Uninstall.
- Confirm by clicking Yes.
- Follow on-screen steps.
- After uninstalling, choose:
- Restart Computer – to proceed with installation.
- Restart Later – to continue later.
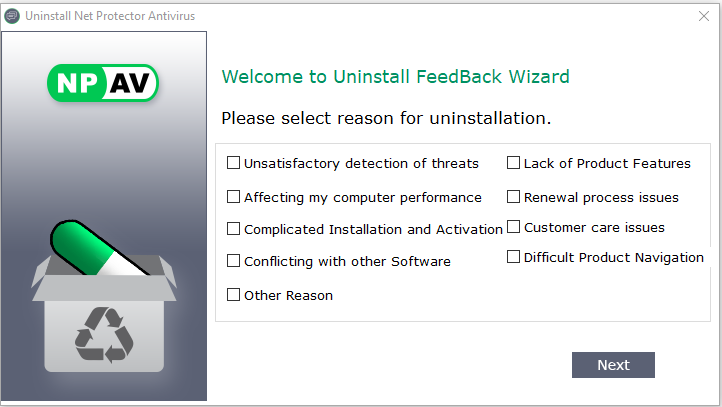
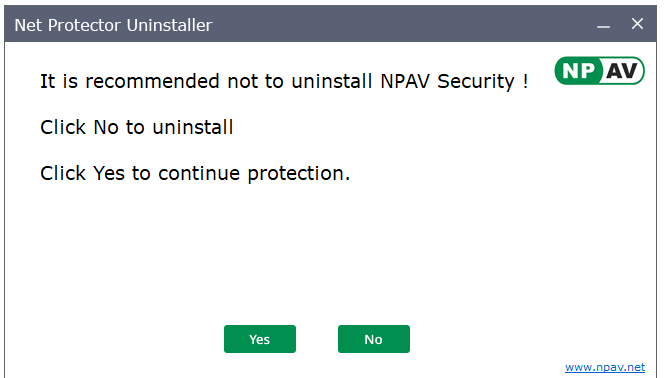
- Uninstall Net Protector Antivirus
Warning: Uninstalling may expose your system to threats.
Steps:
- Click Uninstall and confirm by clicking Yes.
- Reason for removing Antivirus – Provide feedback and click Submit.
- Click NO to confirm.
- Uninstallation starts.
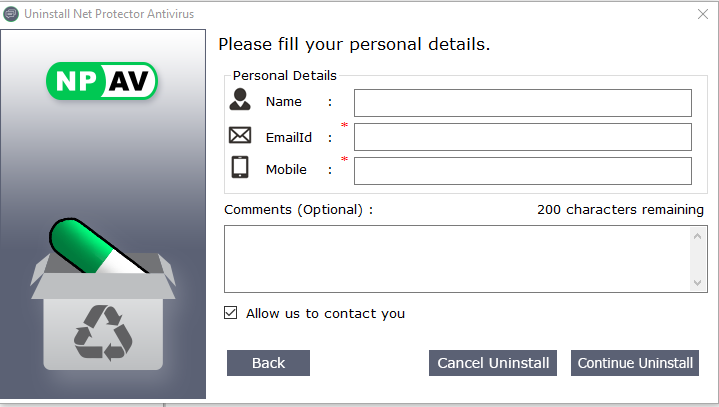
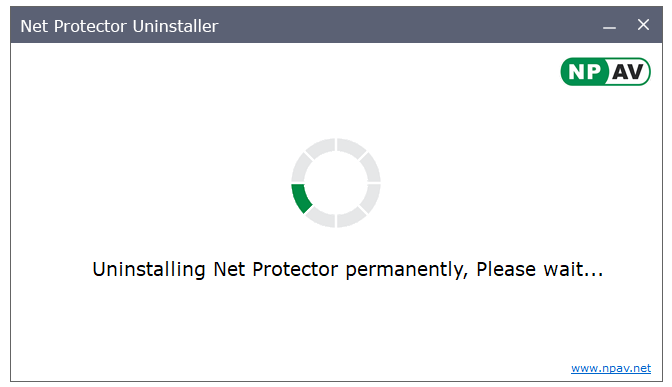
Final Step: Click Restart Now to reboot, or Restart Later to do so manually.
─────────────────────────────
