What is NP File Locker?
Net Protector File Locker is a security software tool designed to protect sensitive files and folders on a computer. It offers features such as:
- Encryption : Files are encrypted to prevent unauthorized access.
- Password Protection : Users can set passwords for files and folders to restrict access.
- User -Friendly Interface : The software typically provides an easy-to-use interface for managing locked files.
- File Management : Users can organize and manage their files within the locker.
Net Protector File Locker is commonly used for personal data protection, ensuring that confidential information remains secure from unauthorized users.
How to Set Up NP File Locker
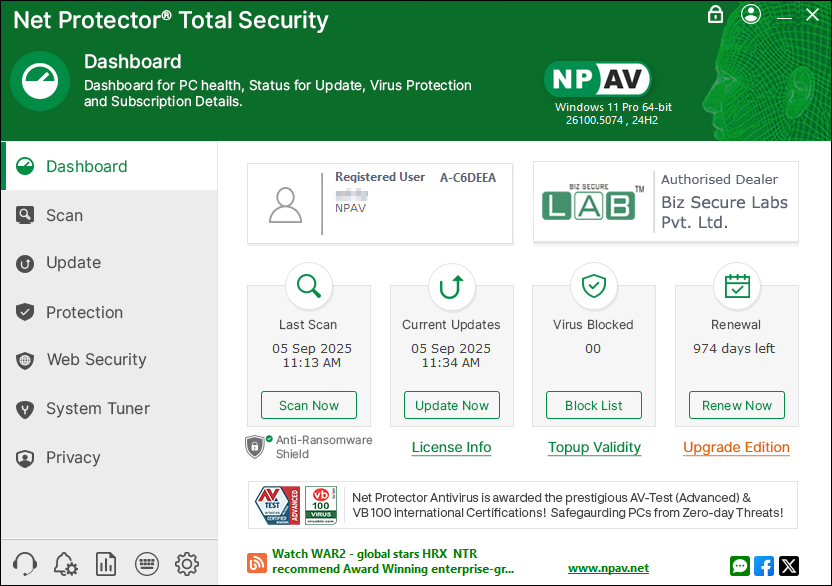
Step 1 : Open the Net Protector Antivirus Dashboard.
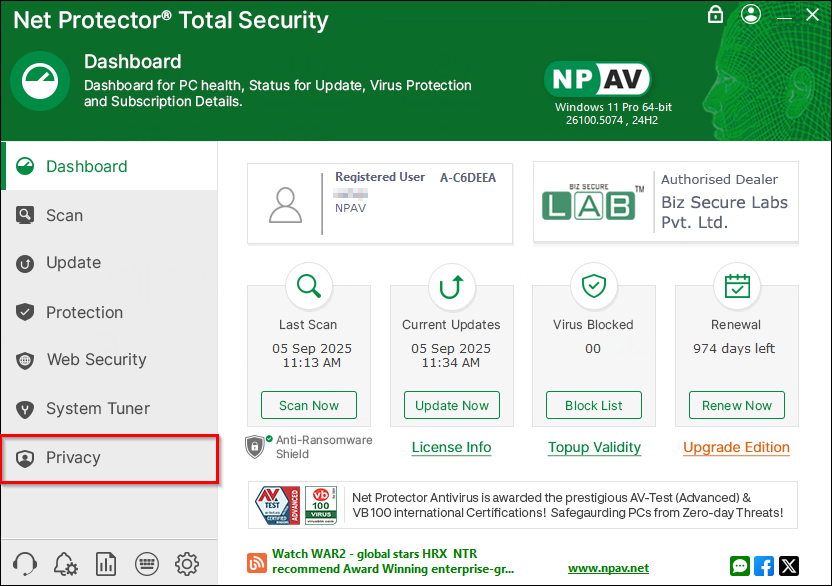
Step 2 : Navigate to the “Privacy” tab.
Step 3 : In the Privacy tab, search for the “File Locker” option.
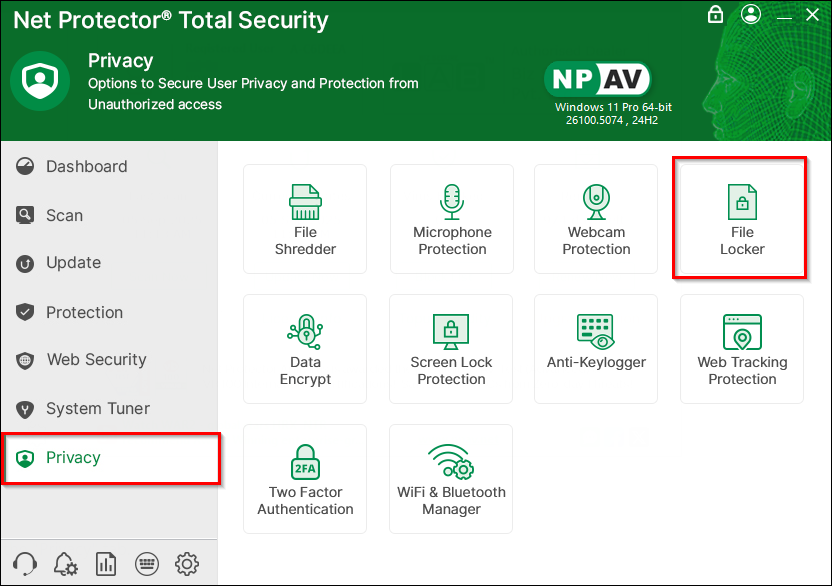
Step 4 : Click on the File Locker option.
Step 5 : After clicking on File Locker, you will see the File Locker Dashboard, which provides three buttons:
- i. How it Works: This button will redirect you to the official docs.npav.net website, where you can find a complete guide for all features of Net Protector Antivirus.
- ii. Old Version: The current NP File Locker Dashboard is a new version. If the user has been using NPAV for a while, they may be more familiar with the old version of File Locker. For this purpose, and according to customer requirements, NPAV has decided to provide both old and new versions of File Locker to customers.
- iii. Create Vault: If the user wants to proceed with the current version of File Locker, they can use the Create Vault button.
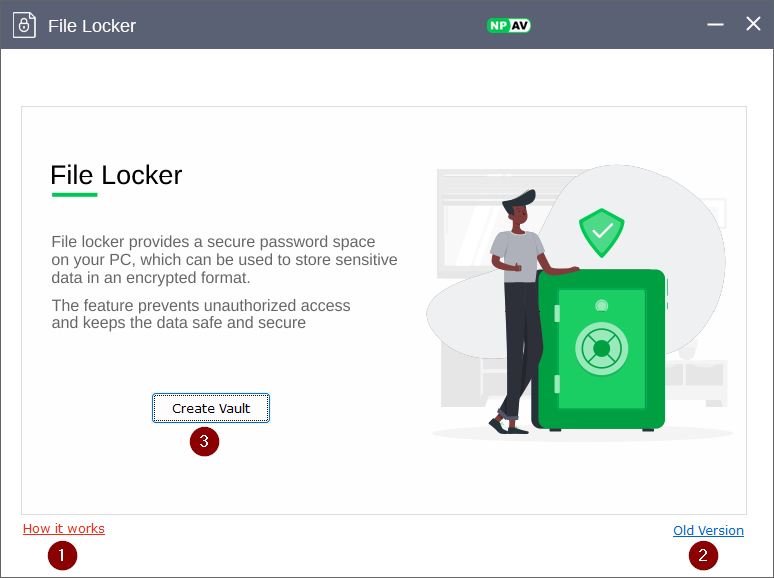
Step 6 : Click on the Create Vault button.
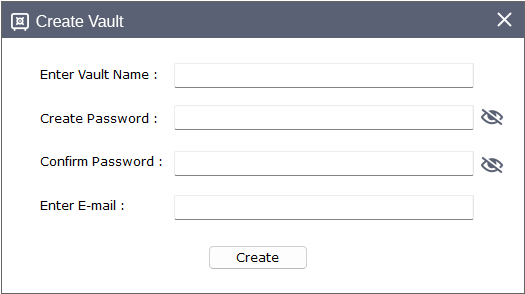
Step 7 : Here, the user needs to provide some basic information, such as “Vault Name” (a basic name for their vault), create a password to unlock the vault, confirm the password, and enter an email address. Then click on Create.
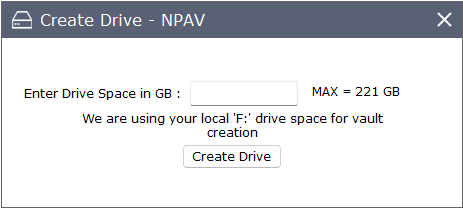
Step 8 : Enter the space needed for the vault in GB (for example, 5 to 10 GB as per requirement) and click on Create Drive.
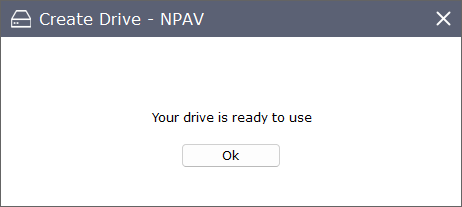
Step 9 : After the vault is created, a popup will be shown. Click on OK.
Step 10 : The vault is created successfully.
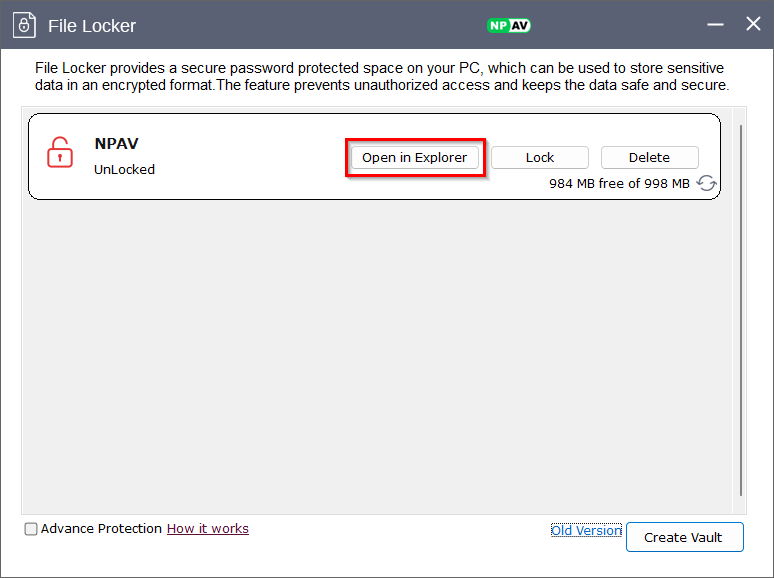
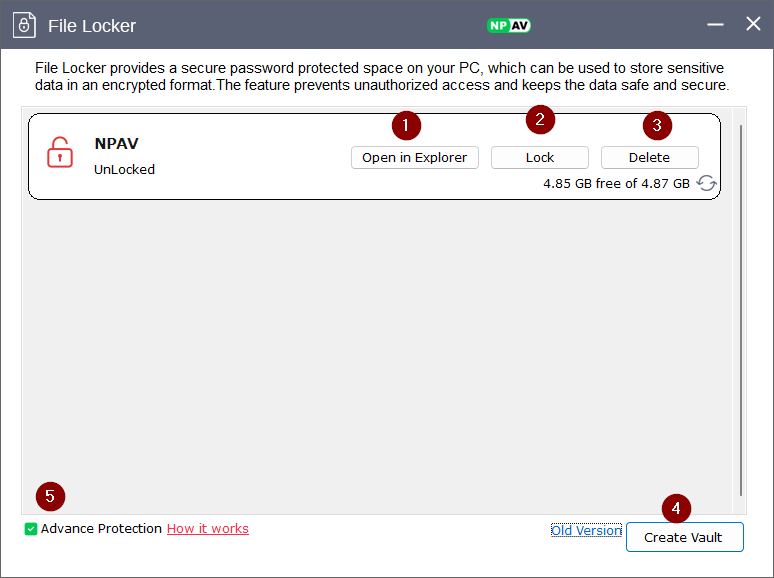
Step 11 : By default, after the creation of the vault, the vault is unlocked. Here we can see five options:
- Open Explorer: To copy, edit, or delete files in the vault, refer to the “Open in Explorer” button.
- Lock: After copying or editing files in the vault, click on the “Lock” button to lock the vault.
- Delete: To delete the vault, click on the Delete button.
- Create Vault : To create a new vault, click on the “Create Vault” button.
- Advanced Protection : To add an extra level of protection, please make sure Advanced Protection is always ON.
- Advance Protection Helps To Protect Drive File Created Through File Locker , In Addition Highest Permission Set To Drive File While Accessing Also Advance Protection Important As No One Can Delete File Which Results In Safe And Secure Creation Of Drive.
- Note : Do not untick Advanced Protection.
Step 12: After adding your confidential data, make sure to click on the Lock button.
How to Access Your Data in the Vault
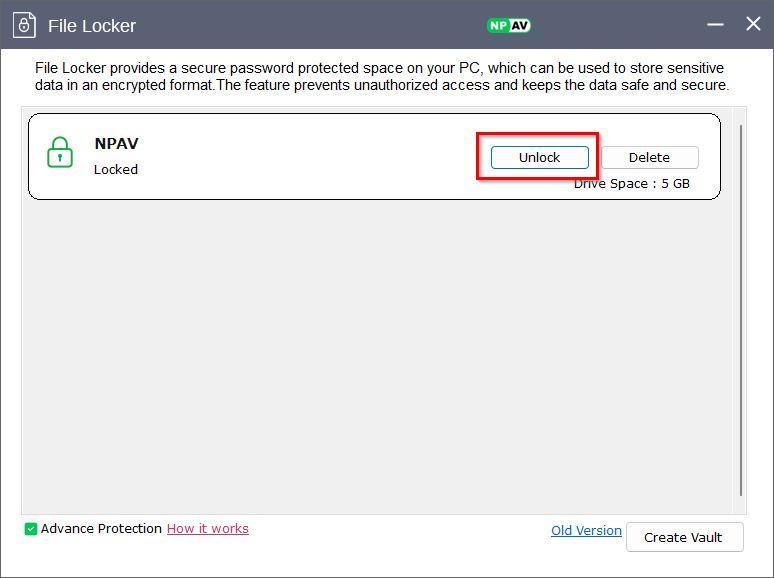
Step 1 : Open NPAV File Locker.
Step 2 : Click on Unlock.
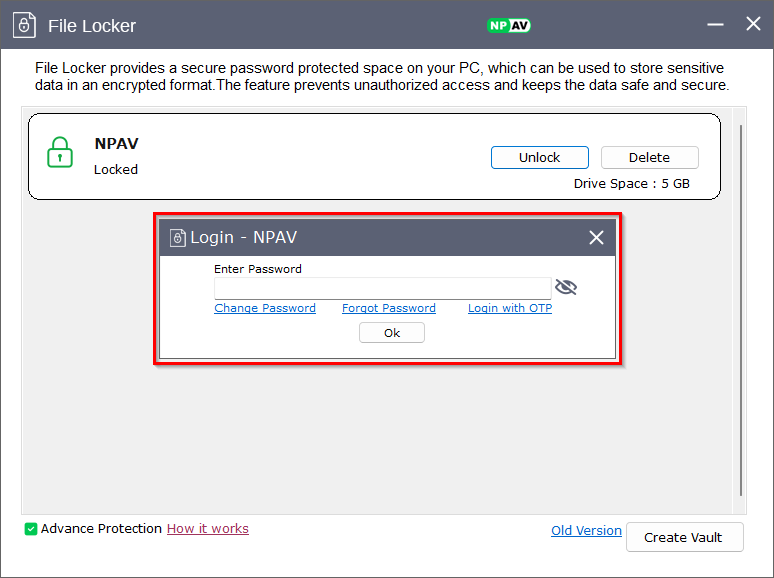
Step 3 : Enter the password for the vault and click on OK.
Step 4 : Click on Open in Explorer, and now you can access and edit your data.