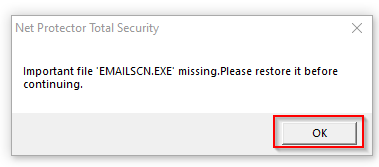
This document explains the steps to fix the error message indicating that the emailscn file is missing. Follow the instructions below carefully to restore the functionality.
Step 1 : Acknowledge the Error Popup
- Click on the OK button to close the popup.
- Once you click OK, the application will automatically redirect you to the Dashboard.
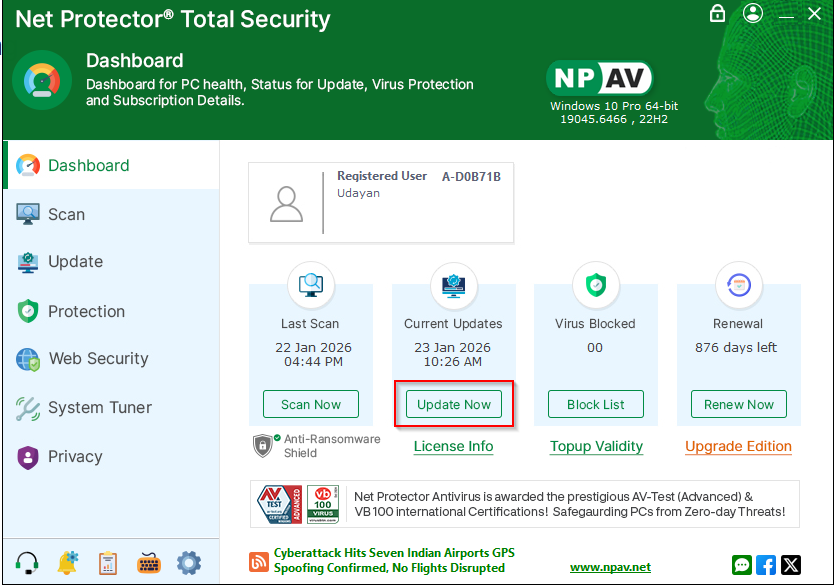
Step 2 : Access the Dashboard
- Wait for the dashboard to load completely.
- Ensure you have a stable internet connection, as the next steps require downloading files.
Step 3: Start the Update Process
- On the dashboard, locate the UPDATE NOW button.
- Click on UPDATE NOW to initiate the update process.
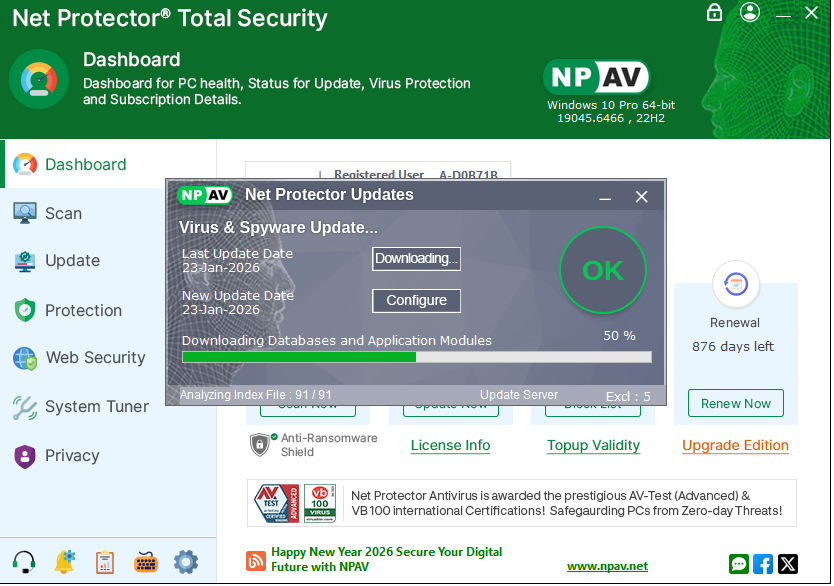
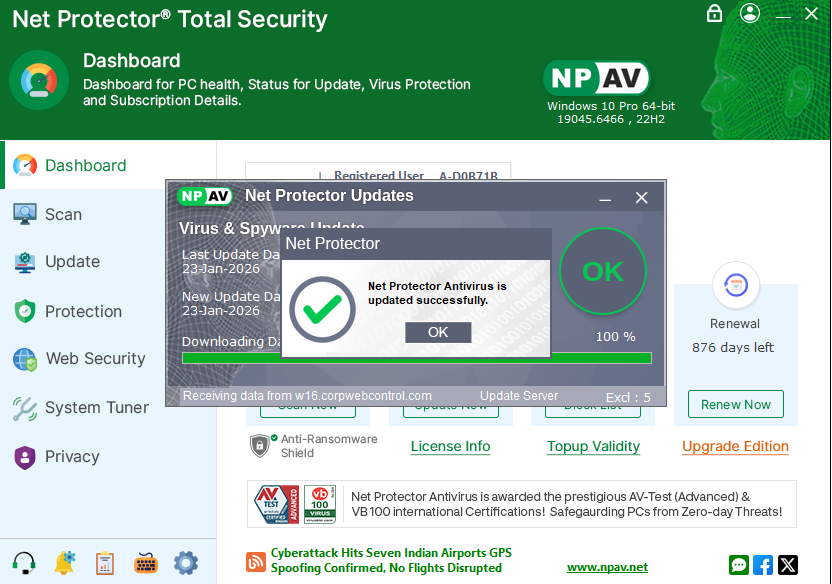
Step 4: Download the Required Files
- Click on the Download button.
- The system will begin downloading the missing emailscn file and any related components.
- Wait until the download is fully completed. Do not close the application or interrupt the process.
Step 5: Relaunch the Dashboard
- After the download is complete, close the dashboard application.
- Reopen (relaunch) the dashboard.
- Allow the application a few moments to initialize.
Step 6: Verify EmailSCN Service
- Once the dashboard is relaunched, the emailscn service will start automatically.
- Confirm that the error message no longer appears.
- Verify that emailscn-related functionality is working as expected.
Note :
If the issue persists after following all the steps, restart the system and repeat the process.
Contact technical support if the problem continues.
Regards ,
NPAV Team
