How to Upgrade to Cloud Backup?
Follow the below steps to Upgrade on Cloud Backup:
Step 1: Click on Buy Storage

Step 2: Select the Plans if you want to change

Step 3: Fill all the details & click on Checkout

Step 4: Select the payment method & click on Make Payment button

Step5: Payment is Successful

Step 6: Payment Received Dialog Shows

Step 7: Fill all the details & click on submit

Step 8: Enter the PIN Received on your email-id & click on Verify button

Step 9: Cloud Storage Activated Successfully

Step 10: Later click on Configuration Menu
 Step 11: Select schedule & enable cloud backup
 Step 11: Select schedule & enable cloud backup
 Step 12: Click on,Backup menu & Click on Add Backup Paths
 Step 12: Click on,Backup menu & Click on Add Backup Paths

And Add Backup Paths

Step 13: Click on Start Backup

Step 14: Local Backup Completed Successfully
 Step 15: Cloud backup will get started and its status will be displayed.
 Step 15: Cloud backup will get started and its status will be displayed.
Step 16: On Desktop NPTBVIEWER Exe shortcut will be created automatically

Step 17: Click on save details,and submit
If Click on save details,then next time it will not ask to enter PIN it will directly download the data


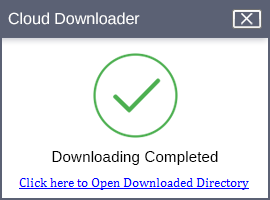
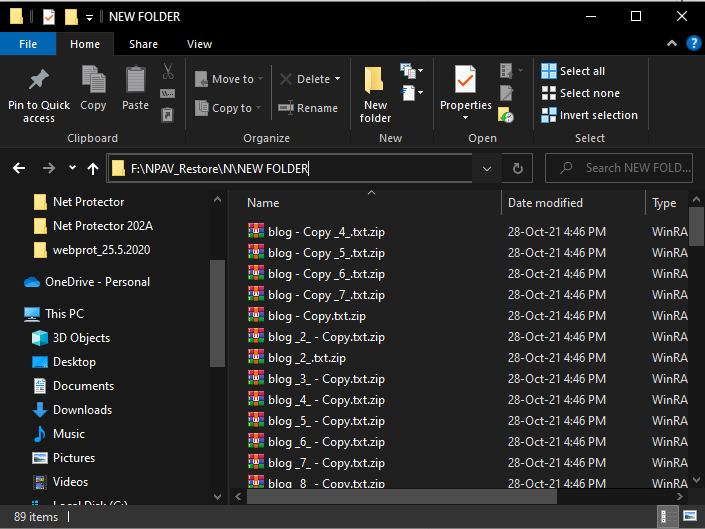
Step 18: Downloading Completed & click on “click here to open downloaded directory”
Step 19: Also We can delete the Cloud files from NPTBVIEWER.Exe


Once Cloud Backup Completed, then a message will display

Thank You,
Cloud Back Up Team,
NPAV